
Boss guide: HP, weaknesses and drops
Hard difficulty multiplies every enemy parameter by 20% and Hardcore by 50% — weaknesses and status resistances stay exactly the same.
The numbers below are the ones the game itself records for each encounter, on Normal. Two things to know before you read them: every parameter rises by 20% on Hard and 50% on Hardcore, and elemental weaknesses do not change with difficulty. A party built around the right element stays correct at every setting.
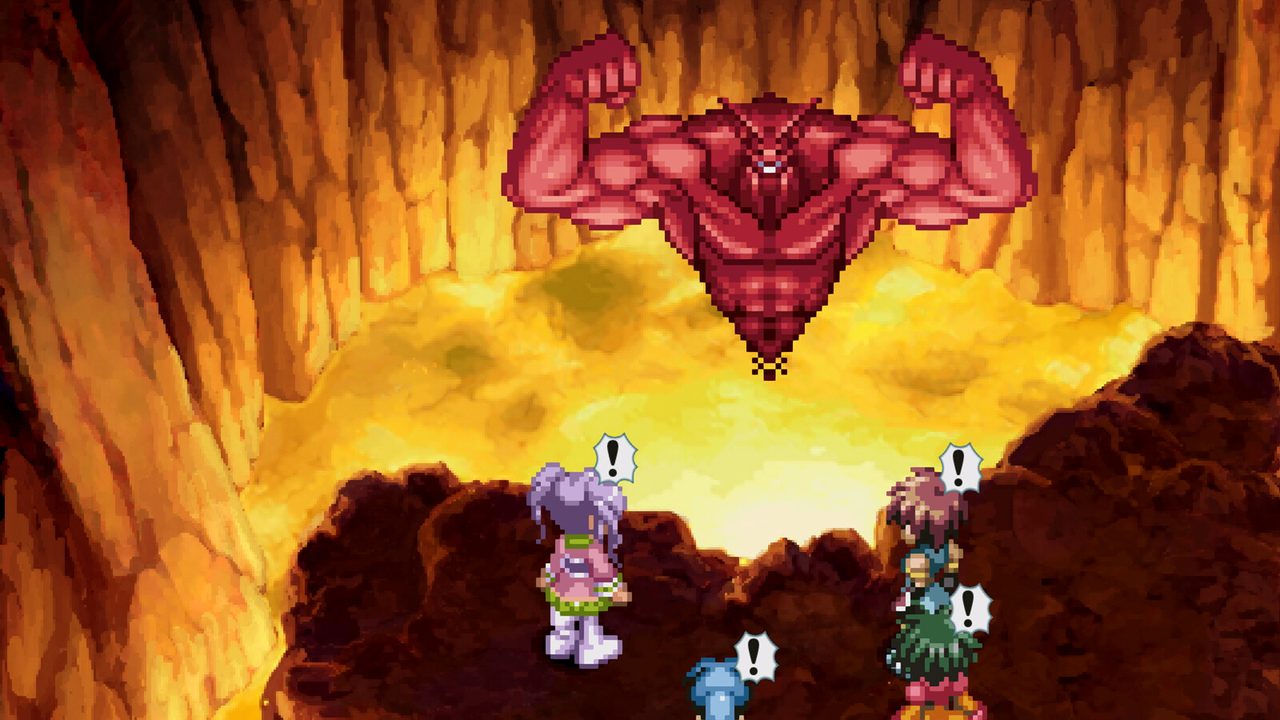
Greater Craymel fights
| Boss | Where | Weak to | Resists | HP | EXP | Notable drops |
|---|---|---|---|---|---|---|
| Undine | Undine Stream | Lightning | Water (null) | 6,800 | 1,360 | Talisman, Mental Bracelet |
| Sylph | Sylph Cavern | Earth | Wind | 6,600 | 1,929 | Protect Ring, Life Bottle |
| Efreet | Efreet Gorge | Water | Fire (null) | 24,000 | 2,723 | Black Onyx, Life Bottle |
| Gnome | Mine of Gnome | Wind | Earth (null) | 16,160 | 3,000 | Moon Crystal, Rune Bottle |
| Celsius | Mt. Celsius | Fire | Ice, partly Physical | 33,333 | 4,000 | Resist Ring, Freeze Charm |
| Volt | Ruins of Volt | Water | Lightning (null), Physical | 54,321 | 3,600 | Holy Symbol, Rune Bottle |
| Rem | Regulus Knoll (crypt) | Dark | Light (null) | 100,000 | 40,960 | Reflect Ring, Rune Bottle |
| Shadow | Shadow Cave | Light | Dark | 100,324 | 32,768 | Force Ring, Rune Bottle |
| Maxwell | Farlos Sanctuary | — | Elemental | 34,000 | 34,002 | Faerie Ring, Omni Weapon, Elixir |
| Sekundes | Shizel's Castle | — | Most elements, partly Time | 200,000 | 60,000 | — |
Read the resist column carefully, because it is where parties die. Efreet nullifies Fire. Undine nullifies Water. Volt nullifies Lightning. If your main caster happens to be a Fire specialist, you are bringing a passenger to Efreet Gorge.
Status effects the bosses inflict
Several of these fights are decided by a status ailment rather than raw damage:
- Celsius inflicts Freeze, and its normal attack can cause instant death. Bring a Freeze Charm or a resistance ring.
- Volt paralyses. Paralysis ends fights faster than HP loss does — clear it immediately.
- Sylph lowers accuracy, which turns a clean combo into a string of misses and makes long fights drag.
Story and optional bosses
| Boss | Where | Notes |
|---|---|---|
| Rassius | Bridge of Light | A duel, not a monster; short fight with modest HP |
| Hyades | Imen (Library), Balir Castle | Appears twice, the second far stronger |
| Shizel | Balir Castle, then the Heart of her castle | Two encounters, identical stats, different drops |
| Nereid | Heart of Shizel's Castle | Very high HP, heavy elemental resistance |
| Living Armor | Nereid's Labyrinth | Post-game; enormous attack |
| Nereid (Labyrinth) | Nereid's Labyrinth | Post-game superboss with the Hourglass drop |
| Valkyrie | Glimmer Spire | Optional, scaled for a full late-game party |
| Hershel | Nostos Cave | A trial fight, not a real threat |
Fight patterns that work
- Open with the weakness element, then stop casting. Only one spell animates at a time, so your second caster should be healing, not queueing.
- Keep the party staggered rather than bursty. Small-area, high-hit-count artes hold a boss in place; the damage comes from your melee character working underneath it.
- Buy the resistance item the region sells. Each lair's shop stocks something relevant to the boss at the end, and it is almost always cheaper than the gels you will burn without it.
- Use Battle Retry deliberately. Losing to a Craymel on the first attempt is normal; use the retry to learn which of its attacks you cannot dodge, then change party order.